You can create an application from scratch or import an existing one. See the section called “Importing/Exporting Applications” for information about importing applications. After creating an application, you:
-
add components (the section called “Adding Components to an Application”)
-
create an environment (the section called “Creating an Environment”)
-
associate an agent with the environment (the section called “Mapping Resources to an Environment”)
-
create an application process (the section called “Application Processes”)
Before configuring an application, ensure that at least one agent has been installed in a target environment (for evaluation purposes, the agent can be on the same machine as the server). See Resources.
To create an application:
-
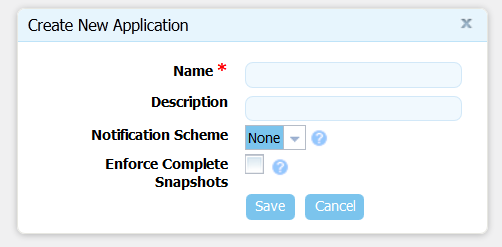
Display the Create New Application dialog
Applications > Create New Application
                              				[button]
, and enter the following:-
Typically the name and description correspond to the application you plan on deploying.
-
Notification Scheme. uDeploy includes integrations with LDAP and e-mail servers that enable it to send out notifications based on events. For example, the default notification scheme will send out an e-mail when an application deployment fails or succeeds. Notifications also play a role in approving deployments: uDeploy can be configured to send out an e-mail to either a single individual or to a group or people (based on their security role) notifying them that they need to approve a requested deployment. See the section called “Notifications”.
-
If you want the application to require that every component is versioned, click the Enforce Complete Snapshots check box.
-
-
Save your work when done.